Building an English Cottage Style Garden with Stone Raised Beds
We finally finished our garden at the reno home! It was a unique project because there had never been a garden on the premises before, so we got to create exactly what I wanted for it. It has been my favorite project at the house to date (but perhaps that is just because it is fully finished).
We really wanted an English cottage style garden and so we decided to use stones for our raised beds rather than the more traditional wood. An added benefit to this is that the stone isn’t going to need to be replaced in a few years, unlike most wooden raised beds which need more maintenance to handle the weather.

knew that I wanted a really custom look, and for the garden to be built to fit our space. A landscape architect wasn’t in the budget, so I sat down and designed the entire garden myself. I knew where I wanted our garden to go in the yard, took measurements, and custom built everything to fit our space.
If you are wanting to use my design in your own garden, just keep in mind that you will likely need to adjust the number of stones you need for each raised bed.


Here is the stone that I specifically used for our garden. I purchased all of the stone at Menards. If you don’t have a Menards local to you, Home Depot, Lowes, and your local masonry will likely have excellent options for stone as well.
For the 2’x4’ and 2’x10’ raised beds, here are the two types of stones that I used:
Quarry Gray Tumbled Belgian Edger Block - 3.5 x 12 x 4
Quarry Gray Tumbled Belgian Reversible Paver - 3 x 6
These are paver and edger stones. They are not traditionally used for building things like this, but I personally liked them and felt like they were the perfect choice for our yard, since I didn’t want to go with brick - I really wanted a gray stone. Just keep in mind that these are quite heavy (particularly the 3.5”x12” stones) and you will need to use a lot of landscape adhesive to hold them together. Just stacking them will not suffice. If you have beds longer than 8’ or haven’t leveled your ground out perfectly prior to laying your stone, you might need to build some sort of bracing about halfway through your bed - these stones are heavy, so keep that in mind. I had to do that for one of my longer beds and it was quite easy to do.


The stones in between the beds are 9” square pavers that match the stone in the raised beds. I almost always am barefoot when I am in our backyard, and I knew that I wasn’t likely to go find shoes every time I wanted to check the garden. Walking on mulch is one of my least favorite things, so I found these stones and put a lot of them in so that I could walk freely in the garden.
Quarry Gray Tumbled Belgian Reversible Paver - 9 x 9
I covered the entire garden (except for under my raised beds) in landscape fabric and mulch. I did use our tiller on the ground, but knew that this first year there was probably going to be a lot of grass and weeds trying to poke through since the grass underneath hadn’t died yet. I’m very pleased with the results of it so far and feel like it has really kept the weed maintenance very low.


We have a black metal fence surrounding our yard, and I wanted the garden to match, but didn’t feel like we needed the entire fence to be 40+” high. I found these fence panels from the same line, but are only 30” high. So perfect for the space and I love how the black and stone go together. It is exactly the look I was wanting. I grabbed a couple of arched trellises from amazon to complete the garden and connect the raised beds.
Teton Fence Panels


A note on using stone:
Stone has imperfections, particularly stones like the ones that I chose. Not every one is exactly the dimensions that they are supposed to be. So sometimes one side or one stone has a slightly larger lip or sticks out a bit or doesn’t lay perfectly flat. I used a lot of landscape glue in the process and was personally okay with the imperfections because I felt like they added to that English cottage feel. I could have gotten a chisel and cut things down to perfection, but I wasn't willing to go to the level personally. If you are wanting perfection in your garden, you might want to hire out the process to a mason or use a more exact medium like regular bricks or wood.


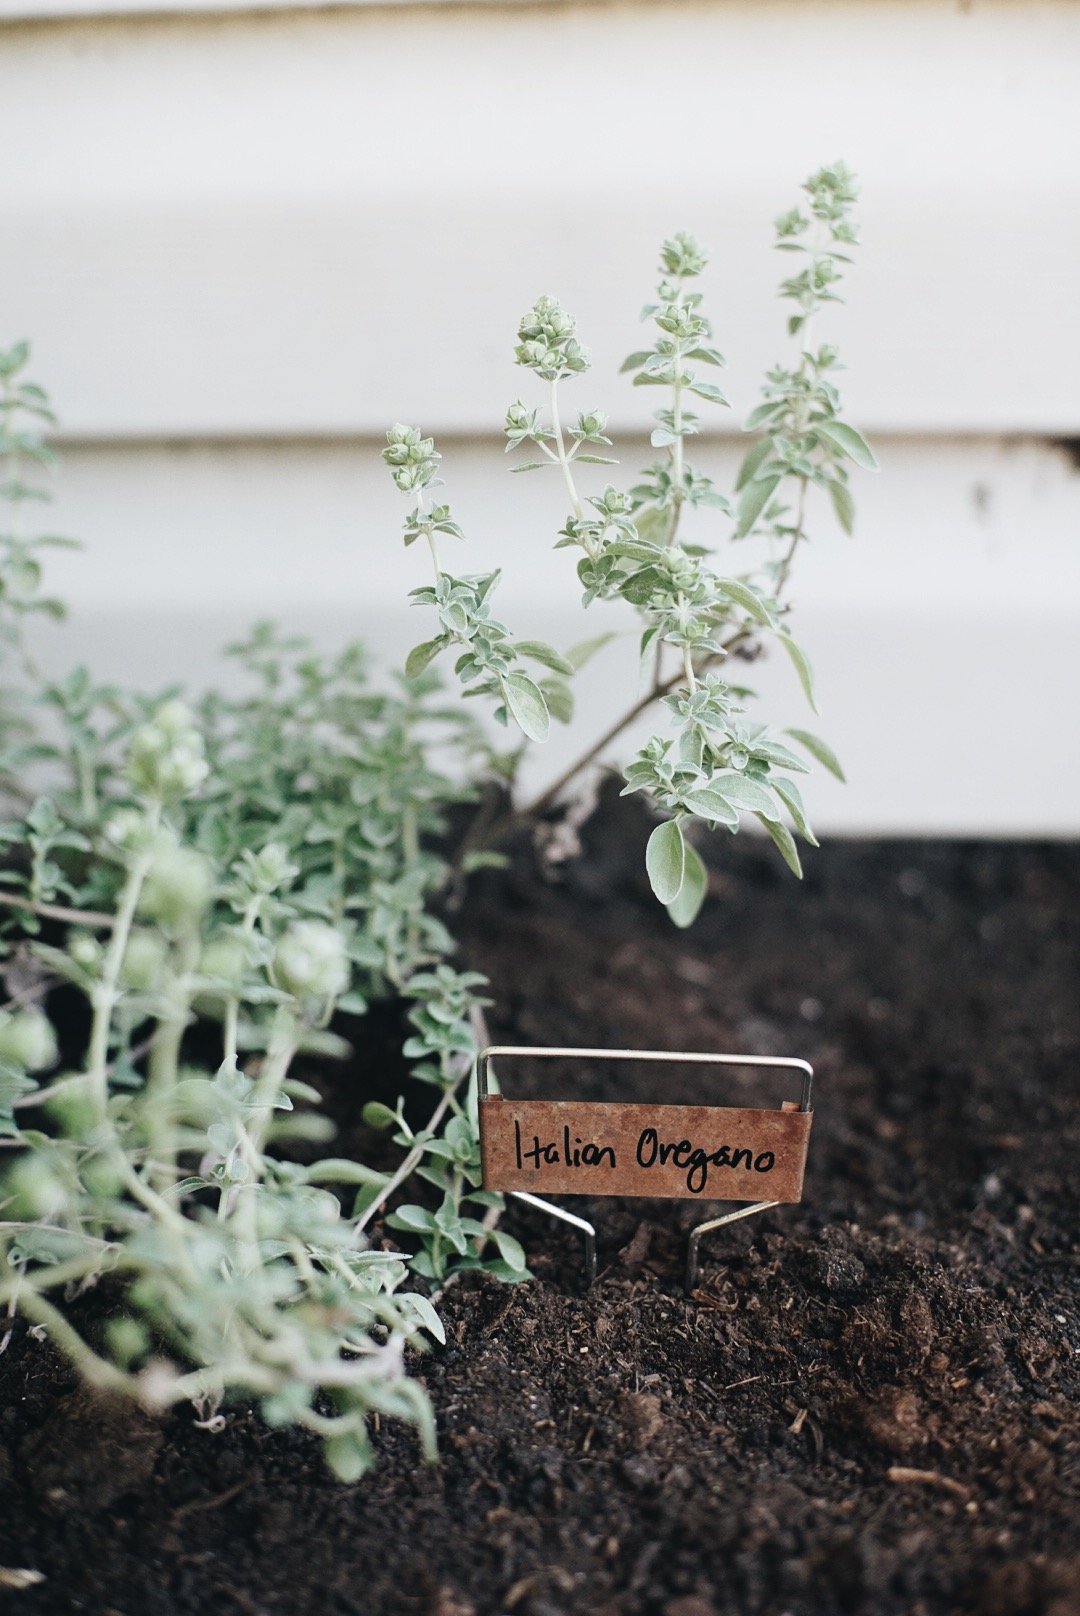
I also built an herb garden under our kitchen window. There was a really awkward 2’x12’ space that was dug out under the window and near the walkway that was just dirt. I knew I wanted to improve the look of the space and decided on an herb garden. I used slightly different stones, but from the same line as the ones in the garden so that everything would tie together. There are two rows of 6”x9” pavers (installed on their side, lengthwise), topped by the 3”x6” pavers laying flat to create a bit of a lip on the bed.
Quarry Gray Tumbled Belgian Reversible Paver - 3 x 6


Andrew and I have been so pleased with how this turned out. It is entirely custom and fits our style so well. We’ve had a lot of neighbors stop by to comment on it as we have worked on it, and it has been a neat way to meet our new neighbors and connect with them a bit.
If you have questions about the process or the design, comment and I will do my best to help!